A car alternator is responsible for charging your car's battery while the engine is running. If your car's battery is not charging properly, it could be due to a faulty alternator. Testing your car's alternator is a simple process that can be done with a multimeter. In this article, we will guide you through the steps to test your car's alternator with a multimeter.
What You Will Need

To test your car's alternator, you will need the following:
- A multimeter
- A fully charged car battery
- A safety gear (gloves and goggles)
Step-By-Step Guide

Follow these steps to test your car's alternator:
Step 1: Turn off your car's engine and disconnect the battery
Before you start testing your car's alternator, make sure your car's engine is turned off and the battery is disconnected. This will ensure your safety while working on the alternator.
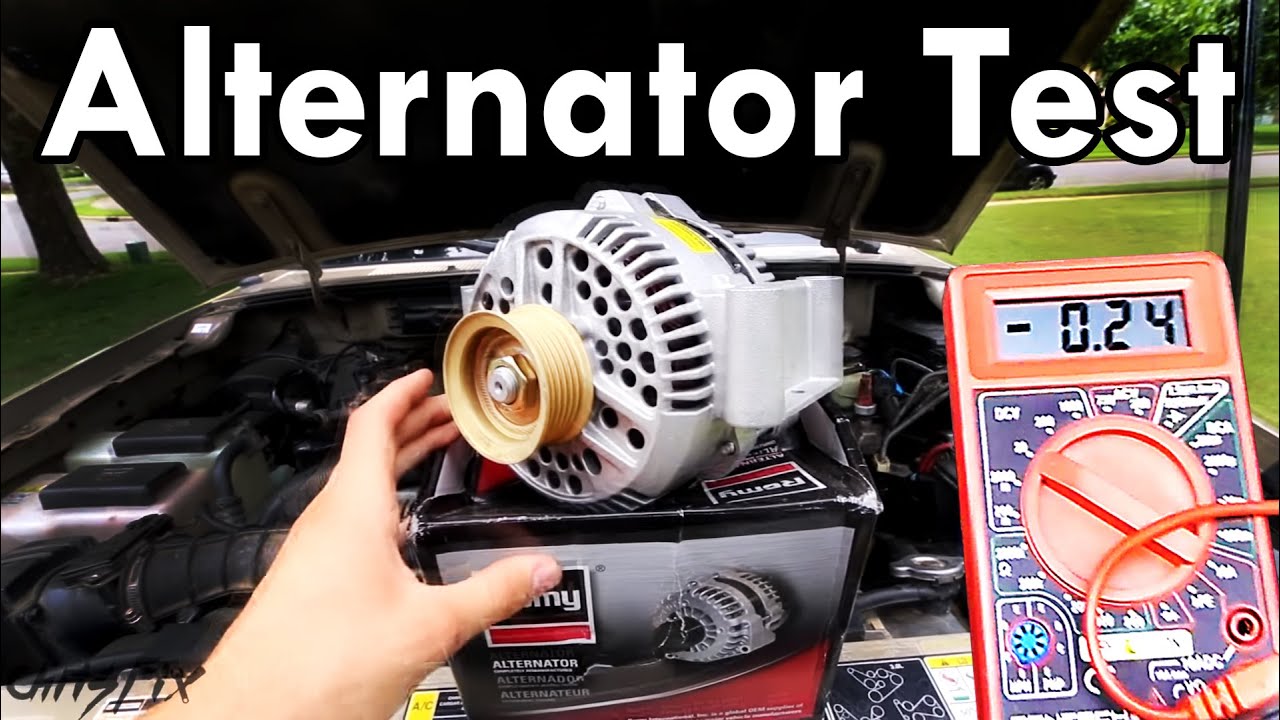
Step 2: Locate the alternator

Once you have disconnected the battery, locate your car's alternator. The alternator is usually located near the front of the engine and has a belt running around it.
Step 3: Set your multimeter to DC voltage

Set your multimeter to DC voltage by turning the dial to the "V" with a straight line next to it. Make sure the multimeter is set to a range greater than 14 volts.
Step 4: Connect the multimeter to the battery
Connect the multimeter to the positive and negative terminals of the battery. The red lead should be connected to the positive terminal, and the black lead should be connected to the negative terminal.
Step 5: Start the engine

Start your car's engine and let it run for a few minutes.
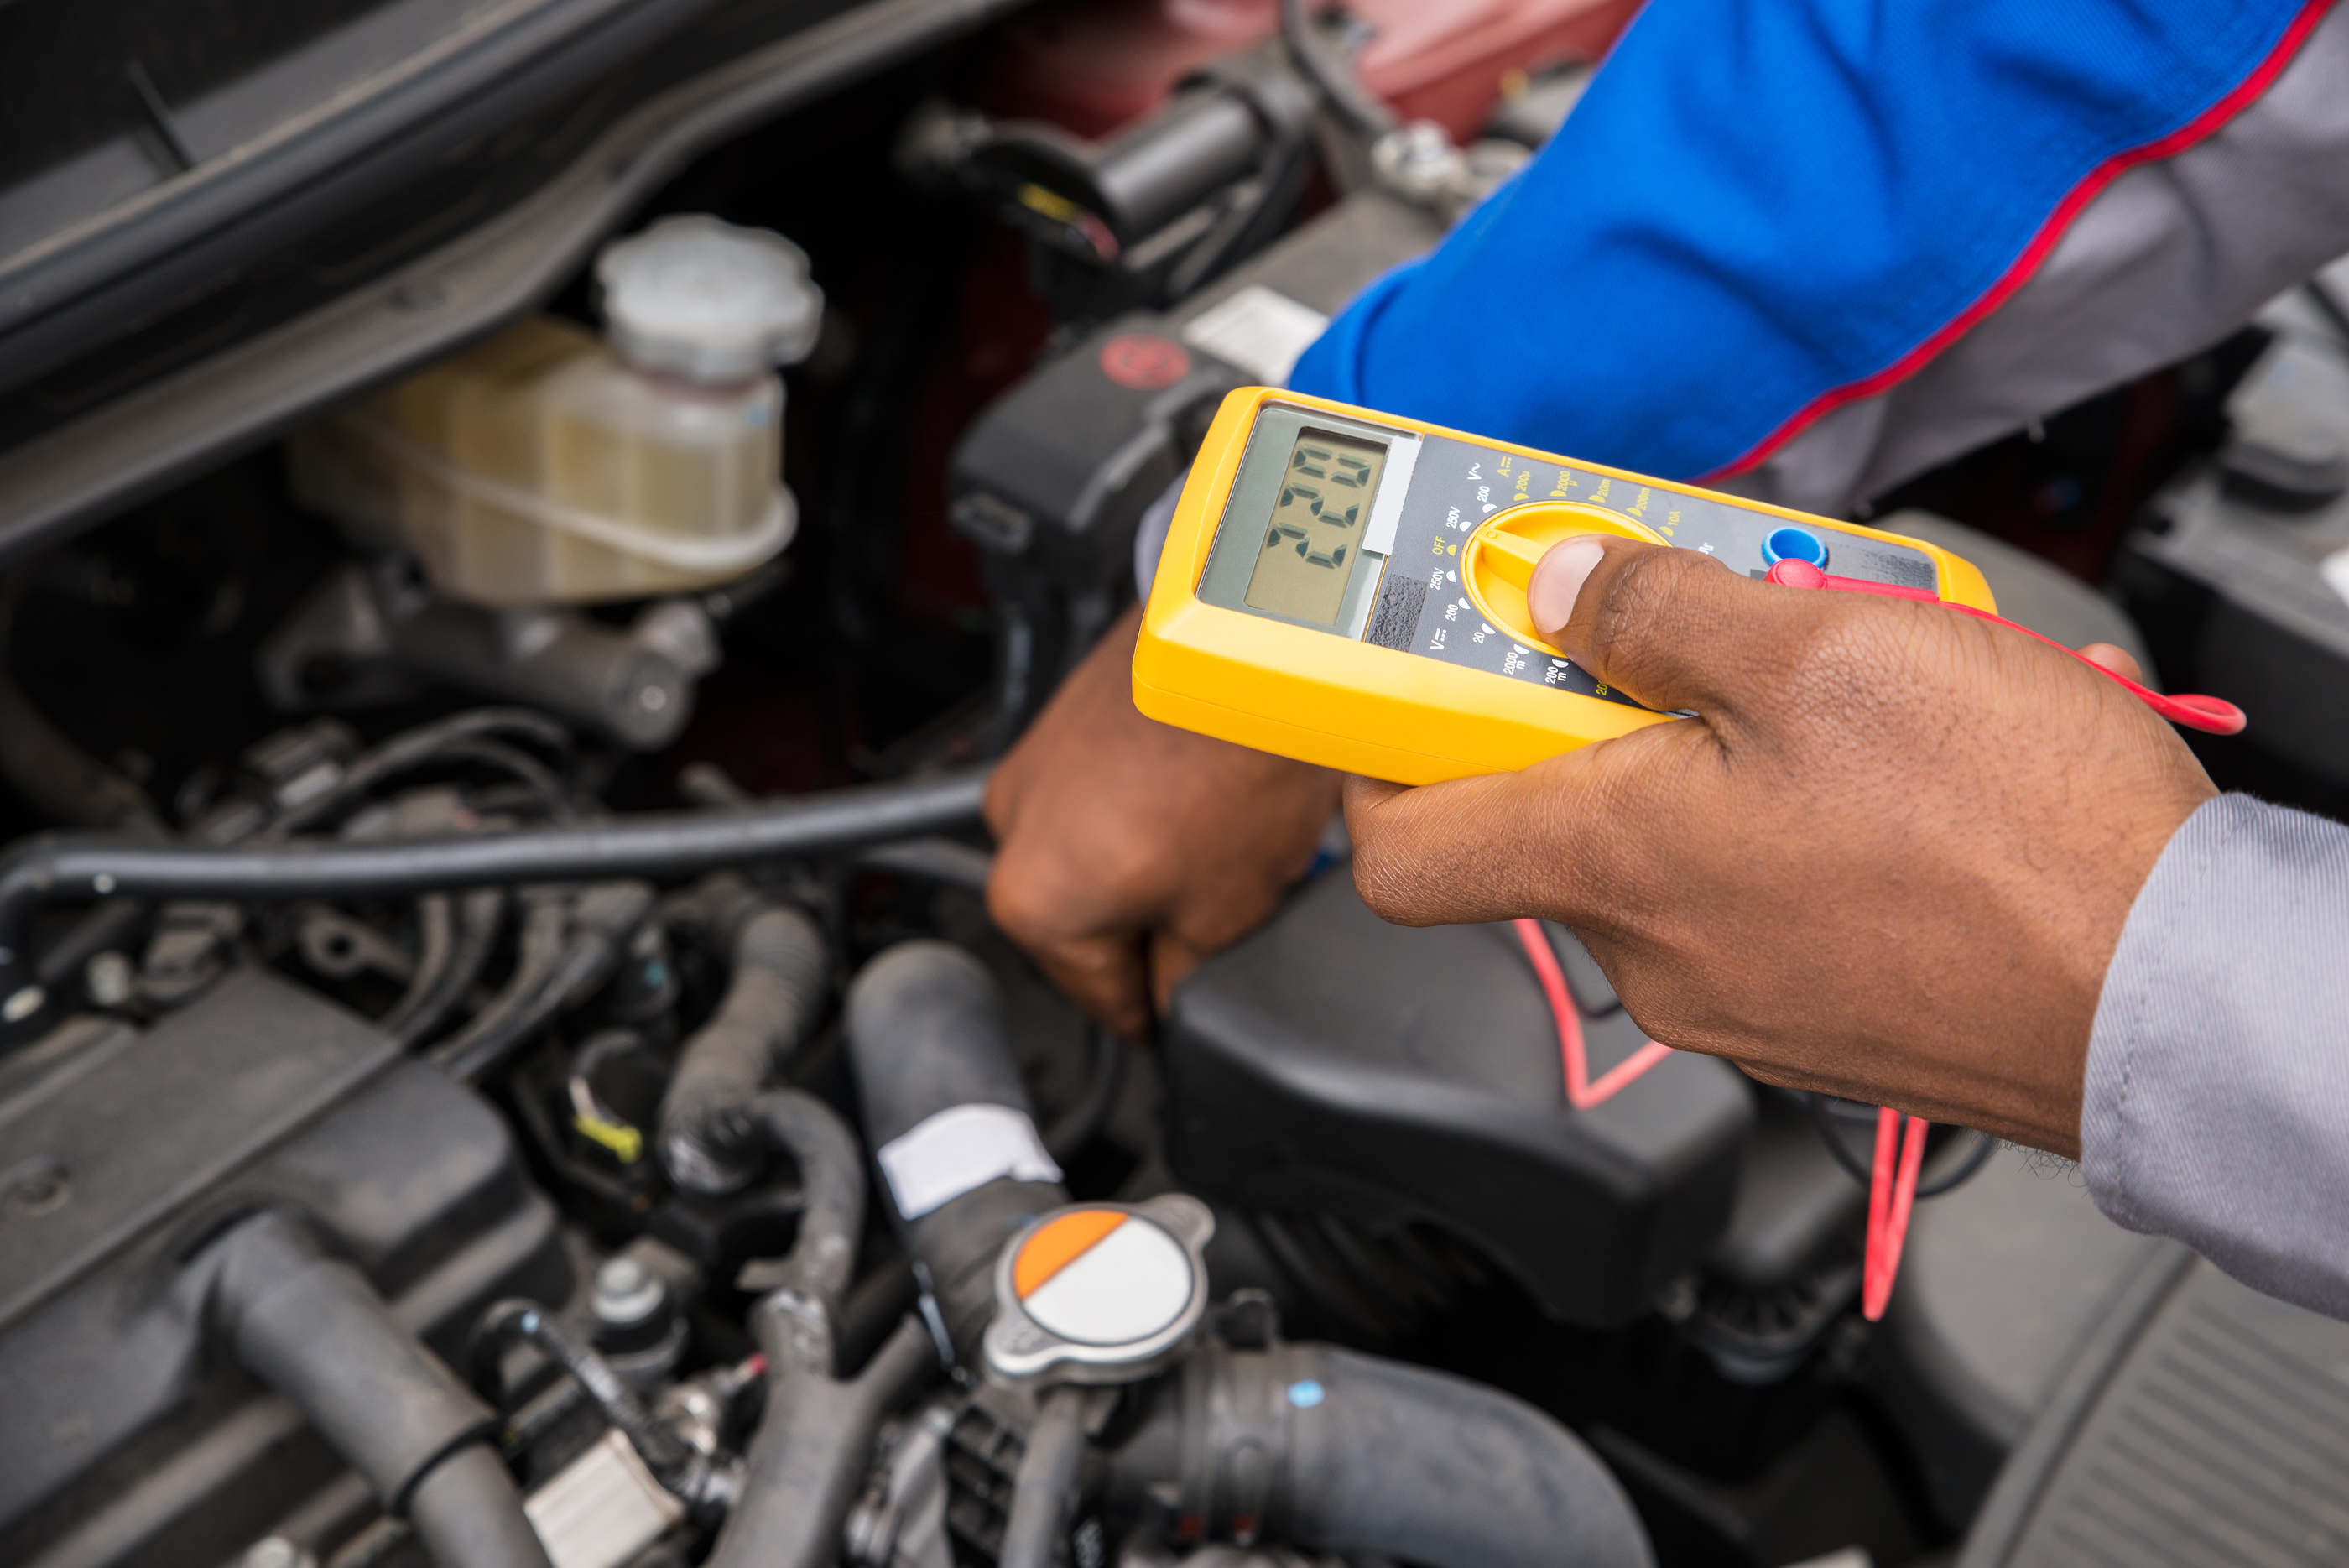
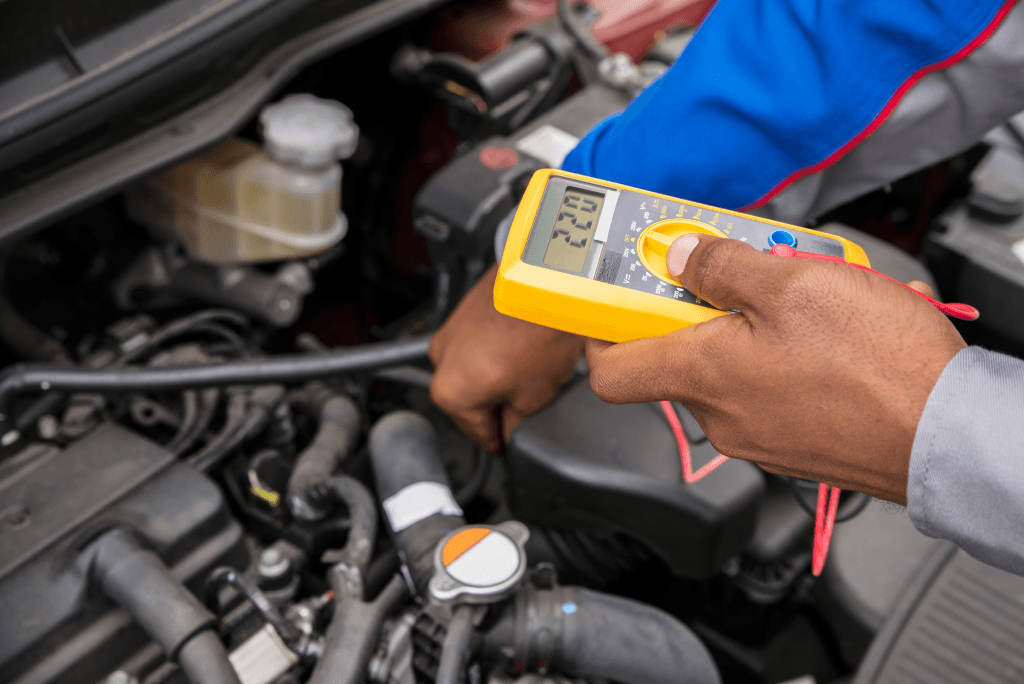
Step 6: Measure the voltage

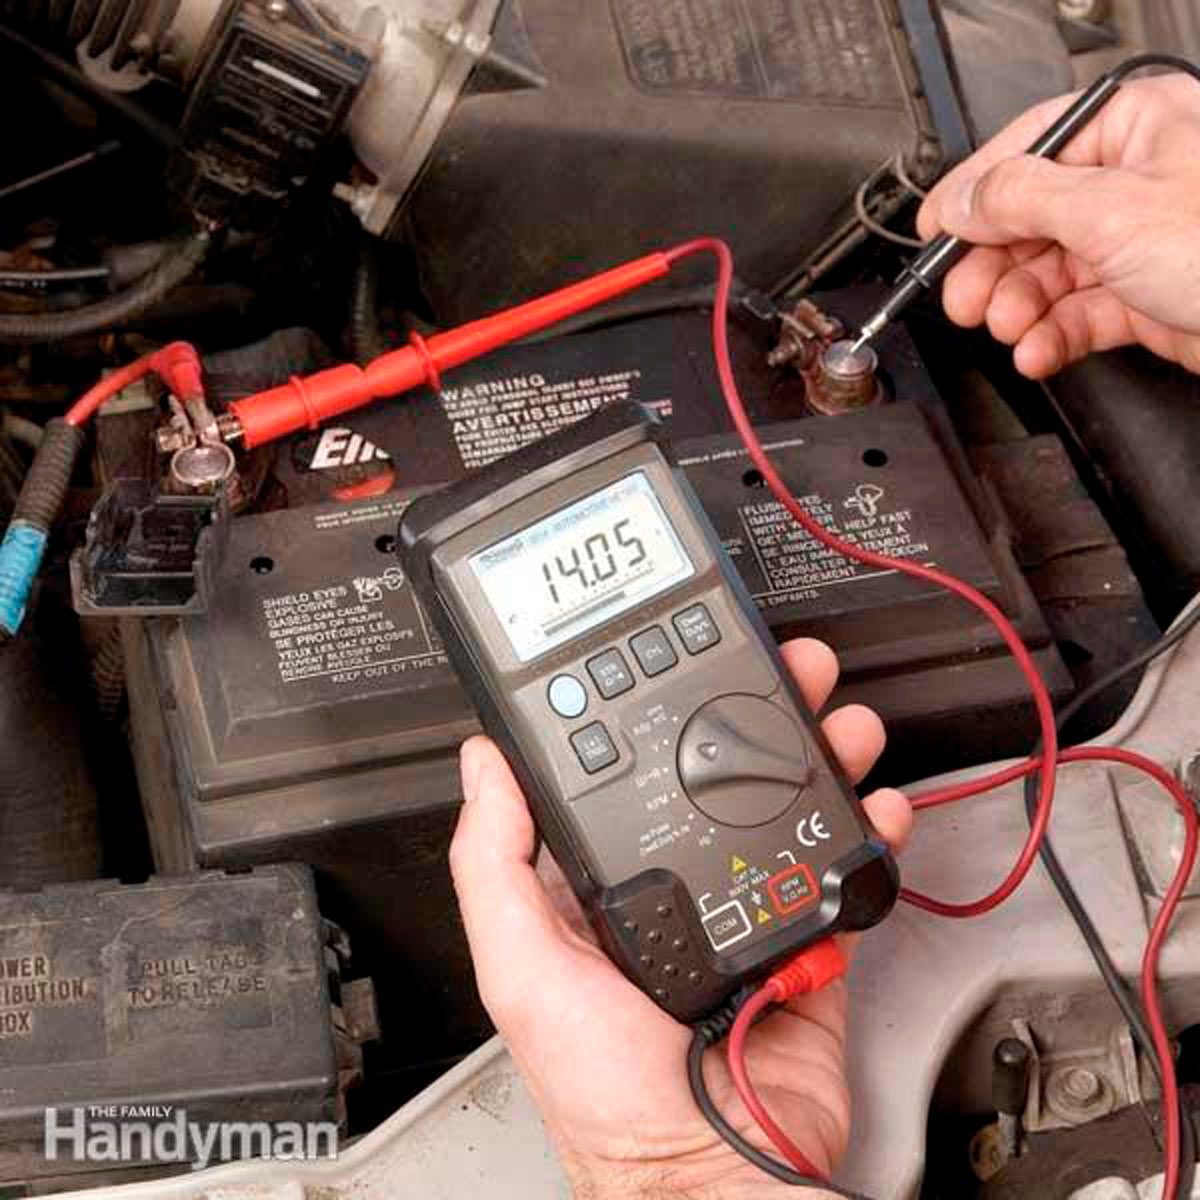
Place the red lead of the multimeter on the positive terminal of the battery and the black lead on the negative terminal. The multimeter should read between 13.5 and 14.5 volts. If the reading is below 13.5 volts, this indicates that the alternator is not charging the battery properly.
Step 7: Test the alternator
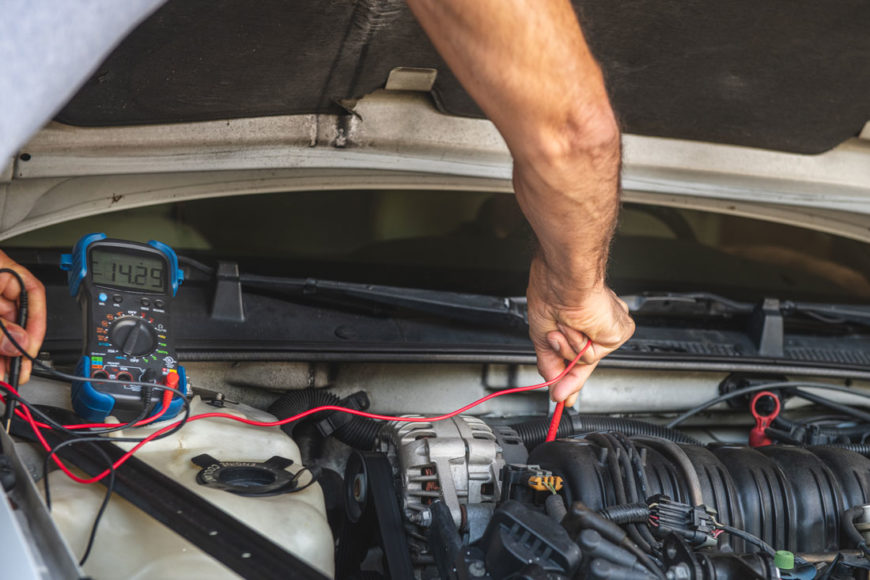
To test the alternator, connect the multimeter to the positive and negative terminals of the alternator. The multimeter should read between 13.5 and 14.5 volts. If the reading is below 13.5 volts, this indicates that the alternator is not working properly.
Step 8: Check the alternator belt
Check the alternator belt for signs of wear and tear. A worn alternator belt can cause the alternator to fail.
Step 9: Reconnect the battery and test again

Reconnect the battery and start the engine again. Measure the voltage using the multimeter. The voltage should be between 13.5 and 14.5 volts. If the voltage is still low, this indicates that the alternator needs to be replaced.
Conclusion
Testing your car's alternator with a multimeter is a simple process that can save you time and money. By following the steps outlined in this article, you can determine whether your car's alternator is working properly or needs to be replaced. Remember to always wear safety gear when working on your car's alternator.